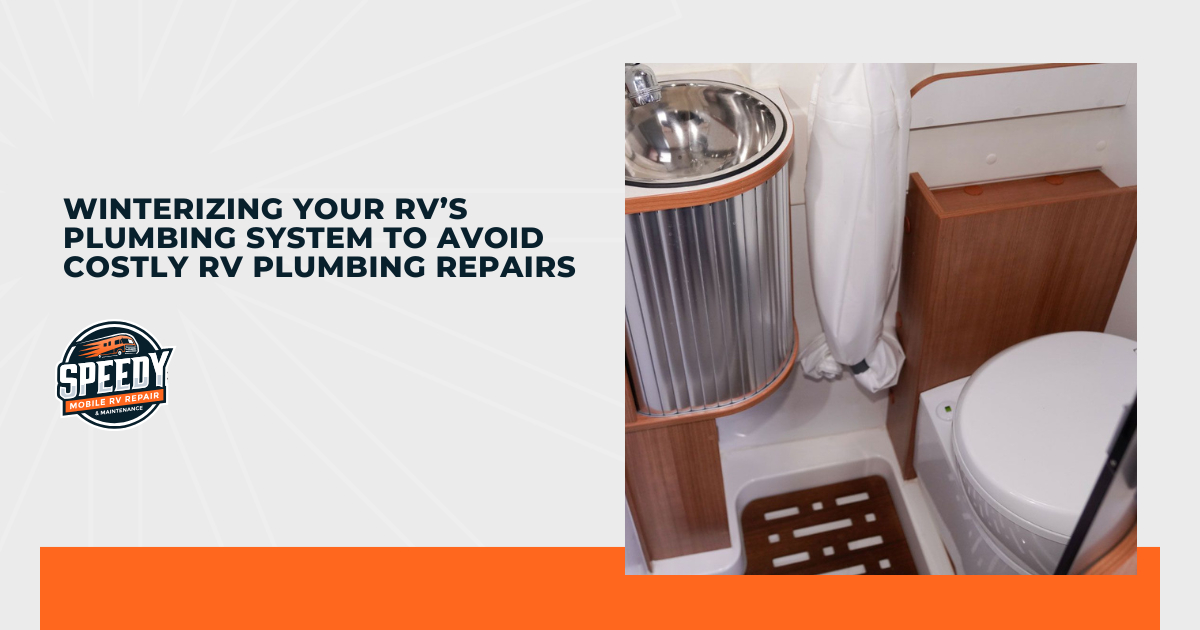
Winter's icy grip can be brutal, especially on your RV's plumbing system. As someone who's experienced the unpleasant surprise of a burst pipe or two, I can't stress enough the importance of winterizing your RV's plumbing. It's a bit of effort upfront, but trust me, it's far less painful than dealing with a costly RV plumbing repair come springtime.
Winter is coming. Don’t let the cold damage your RV’s plumbing system. Here’s how to protect your RV from expensive RV plumbing repairs:
- Get to know the risks of not winterizing
- Gather necessary supplies
- Drain the fresh water system
- Bypass the water heater
- Add antifreeze to the plumbing system
- Secure and inspect the plumbing components
- Follow additional tips for winter storage
From draining those water lines to adding antifreeze, keep reading to discover my top tips for winterizing your RV’s plumbing system, so you can count on a smooth start to your next adventure. Grab your tools, and let's get started.
Get to Know the Risks of Not Winterizing
I’ve seen it all—cracked pipes, leaking tanks, and water damage that could’ve been easily avoided with a little preparation. If you don’t winterize your RV’s plumbing, you’re playing a dangerous game with your investment. When temperatures drop, the water left in your pipes, water heater, or tanks can freeze. And trust me, frozen water in your plumbing can spell disaster.
- Frozen Pipes: When water freezes, it expands. This can cause your pipes to crack or even burst, leading to major leaks and costly RV plumbing repairs.
- Mold Growth: Any stagnant water left behind can create the perfect environment for mold and mildew, which can lead to more than just a musty smell.
- Costly Repairs: The cost of fixing plumbing damage after winter is significantly higher than the minimal expense of winterizing your RV. Keep in mind that according to Progressive, most RV insurance policies don’t cover water damage—maintaining the pipes is considered an aspect of routine maintenance. You’re responsible for it. A little prevention goes a long way.
Gather Necessary Supplies
Before you dive into winterizing, you’ll need to make sure you’ve got the right tools on hand. From my experience, having everything ready before you start makes the process smoother—and you’ll be done before you know it.
- RV-Safe Antifreeze: You’ll need this to keep your pipes from freezing. Make sure it’s specifically designed for RV plumbing.
- Water Pump Converter Kit or Hose: This will help you get the antifreeze into the plumbing system.
- Wrenches and Screwdrivers: You might need tools like these for any disassembly or adjustments along the way.
- Buckets or Containers: You’ll need something to catch water when you’re draining the system.
- Towels or Rags: Cleanup is always part of the process, so keep some towels handy.
Once you’ve got your supplies, you’re ready to get to work. I’ve found that laying everything out ahead of time helps avoid scrambling around midway through.
Drain the Fresh Water System
First things first, we need to get all that water out of your RV's plumbing system. I can’t stress this enough—any water left behind can freeze and cause some serious damage. Here's how to do this the right way:
- Turn off the water heater, and let it cool completely. You don't want to get scalded!
- Open all the faucets, including the shower, and let the water drain out. You might want to grab a book or put on some music, as this can take a while.
- Locate and open the low-point drains. These are usually located underneath your RV and allow you to drain the remaining water from the pipes.
- Don't forget to empty the fresh water tank!
Bypass the Water Heater
We don't want to fill our water heater with antifreeze, so we need to bypass it. Most RVs have a bypass valve specifically for this purpose. Consult your owner's manual to locate it, and make sure it's in the “bypass” position. This is a very important step, so, if in doubt, it’s simply best to reach out to your trusted experts in RV plumbing repair.
Add Antifreeze to the Plumbing System
Here’s where the magic happens—adding antifreeze. I’ve learned that using RV-safe antifreeze is key. Don’t cut corners here; it’s designed to protect your plumbing from freezing.
- Use a Water Pump Converter Kit: This kit helps draw antifreeze into your plumbing system. Hook it up, and get ready to pump.
- Turn on the Pump: Once the pump is running, open each faucet one by one—hot and cold—until you see pink antifreeze coming out. Don’t forget the shower and toilet!
- Protect the Tanks: Pour a bit of antifreeze into the toilet to protect the black water tank, and do the same for the gray water tank.
It might take a little patience, but once that antifreeze is flowing through the system, your RV’s plumbing is safe from winter’s worst.
Secure and Inspect the Plumbing Components
Before you button up your RV for the winter, take a few minutes to inspect your plumbing components. During this step, I typically look for signs of leaks or damage and fix them myself or call an expert for more involved repairs. Also, make sure all faucets and drains are securely closed, so pests and debris can’t get in. Finally, I like to leave myself a note to check all the components again in the spring before I de-winterize.
Follow Additional Tips for Winter Storage
While we’re focusing on plumbing, it’s worth taking a few extra steps to protect your RV as a whole. From my experience, these additional tips can make winter storage even more effective.
- Shelter Your RV: If possible, park your RV in a covered or sheltered area to protect it from the elements.
- Seal It Up: Check the seals and weather stripping around your windows and doors to prevent drafts and moisture intrusion.
- Monitor Humidity: Consider using a dehumidifier inside your RV to prevent mold and mildew growth during storage.
Conclusion
Winterizing your RV's plumbing system is a necessary step in protecting your investment and guaranteeing a hassle-free start to your next camping season. Keep my simple steps in mind, and take your own preventative measures, so you can avoid a costly RV plumbing repair and keep your RV in top condition for years to come. Don’t let winter's chill catch you off guard—take the time to winterize your RV, and enjoy peace of mind knowing that your plumbing is protected from the elements.
