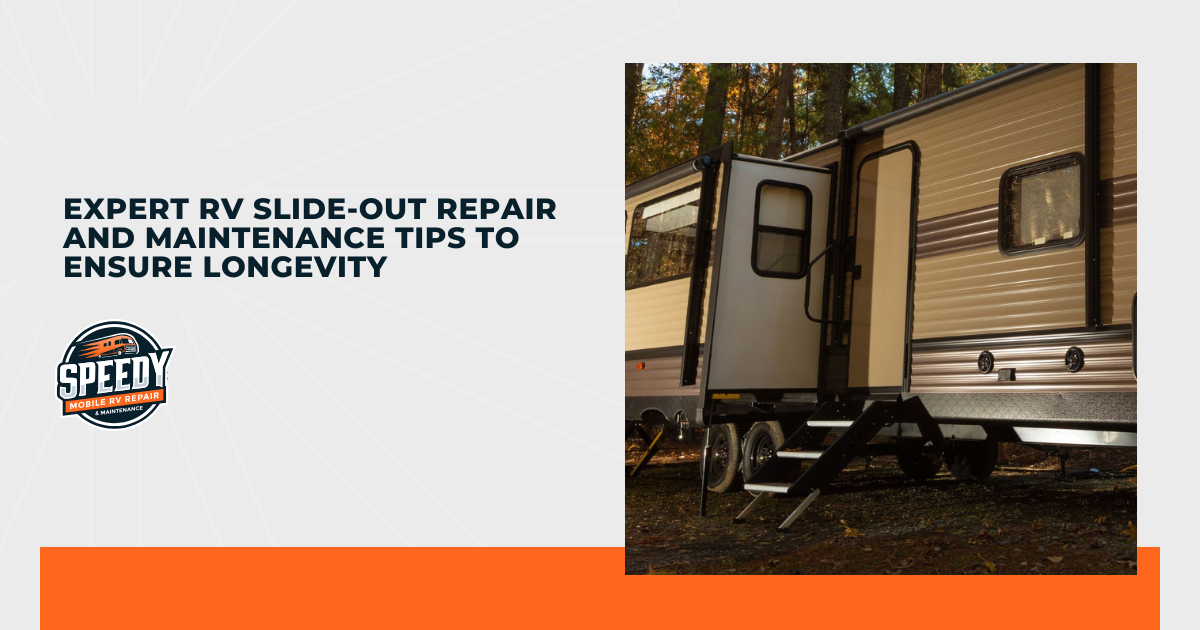
RV slide-outs are nothing short of transformative. They turn cramped spaces into luxurious ones, giving you room to stretch out after a long day on the road. But here’s the catch—those magical slide-outs demand a little TLC to keep functioning smoothly. Neglect them, and you’re setting yourself up for some problems down the road. But is there really a way to avoid RV slide-out repair completely? From my experience, a proactive approach to RV slide-out repair and maintenance saves you from costly breakdowns and stressful roadside emergencies.
So, I’ve made the guide I wish I had earlier—a rundown of everything you need to know to keep your slide-outs in top condition, for years of seamless operation and stress-free travels. Here’s what to remember:
- Understanding slide-out mechanics
- Inspecting regularly for early problem detection
- Lubricating moving parts to reduce wear
- Cleaning and conditioning seals for optimal protection
- Aligning the slide-out to prevent wear and tear
- Addressing electrical issues promptly
- Avoiding overloading the slide-out
- Performing seasonal maintenance before long trips
- Knowing when to call a professional
- Maintaining and cleaning in all seasons
Ready to master the art of slide-out care? Keep reading for my slide-out insights.
Understanding Slide-Out Mechanics
When I first started working on RVs, I quickly learned that knowing how slide-outs work is half the battle. They really work together as a team. If one part fails, the whole system feels it.
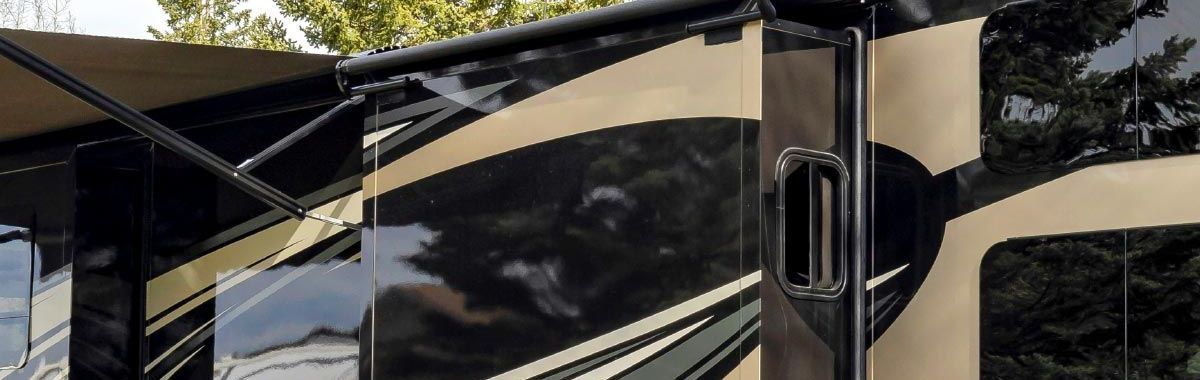
- Seals: These unsung heroes keep water, dirt, and pests from invading your RV, protecting both the interior and the slide-out’s moving parts.
- Gears: They drive the slide-out smoothly in and out, bearing the brunt of the weight.
- Tracks: Think of these as the slide-out’s road, guiding its movement and ensuring it stays aligned every time you extend or retract it.
- Motors: A slide-out’s powerhouse, motors guarantee seamless motion at the push of a button, handling the heavy lifting for you.
- Wiring: These connections keep the whole system communicating, delivering the power and signals needed for flawless operation.
Inspecting Regularly for Early Problem Detection
A few minutes of inspection can save you hours of frustration later. Here’s what I always recommend checking:
- Seals: Look for cracks or wear—these are your first line of defense against water damage.
- Alignment: Notice any scraping sounds or uneven movement? That’s a red flag.
- Motor Noise: Unusual grinding or whining from the motor often signals trouble brewing.
Make inspections a regular habit, and you’ll catch minor issues before they morph into major repairs.
Lubricating Moving Parts to Reduce Wear
Let me tell you, nothing derails a road trip faster than a stuck slide-out. Proper lubrication is your best friend here. Every 6 months—or as your manufacturer suggests—apply a quality lubricant to the gears and tracks.
This reduces friction, prevents wear, and keeps the motor from overworking. From my experience, a well-lubricated slide-out is a smooth slide-out.
Cleaning and Conditioning Seals for Optimal Protection
Seals aren’t glamorous, but they’re the unsung helpers of your slide-out system. Dust, moisture, and pests are no match for well-maintained seals. I clean mine with mild soap and water, then apply a rubber conditioner to keep them flexible and effective.
Trust me, this small effort every few months can save you thousands in water damage repairs.
Aligning the Slide-Out to Prevent Wear and Tear
Misalignment isn’t just an annoyance—it’s a fast track to broken parts. If you notice gaps, uneven movement, or scraping, it’s time to address alignment. While you can check for visible issues yourself, I always recommend bringing in a pro for realignment. A bad DIY job does more harm than good.
Addressing Electrical Issues Promptly
Slide-outs depend on a functioning electrical system, and problems here can stop you in your tracks—literally. Flickering movement or grinding sounds often point to loose wiring or a failing motor. When it comes to electrical issues, I don’t mess around. Call in an expert. It’s safer and smarter than risking a DIY mistake.
Avoiding Overloading the Slide-Out
We’ve all been guilty of overpacking, but your slide-out has limits. Too much weight strains the motor and mechanisms, leading to premature wear. Distribute weight evenly, and avoid storing heavy items on the slide-out. Your motor—and your wallet—will appreciate it.
Performing Seasonal Maintenance Before Long Trips
Before I hit the road, I always give my slide-out a seasonal checkup. A little prep goes a long way toward avoiding breakdowns during your trip.
- Clean and lubricate moving parts.
- Inspect seals, and reapply conditioner if needed.
- Tighten bolts and hardware.
- Test the motor for smooth operation.
Knowing When to Call a Professional
Most times, handing the reins to a pro is the smartest move you can make. And when in doubt, just give your trusted RV slide-out repair experts a call. Here’s what to look out for:
- Motor Replacements: If the motor grinds, stalls, or stops altogether, it’s time for a professional touch to avoid further damage.
- Alignment Issues: Visible gaps or scraping sounds are red flags—improper adjustments can wreck your tracks and seals if handled incorrectly
- Electrical Repairs: Flickering power, blown fuses, or inconsistent slide-out movement? Let a certified tech tackle those complex wires.
- Damaged Seals: Cracked or deteriorating seals need a professional’s precision to ensure a snug fit and watertight protection.
- Structural Problems: Warped tracks or bent frames can jeopardize the entire system, so don’t leave this one to guesswork.
Maintaining and Cleaning in All Seasons
Slide-out maintenance isn’t rocket science, but it is the key to smooth travels. The best part? It takes just a few quick habits to keep everything in prime condition year-round. Here’s how I keep my RV slide-out looking sharp and working flawlessly:
- Sweep Regularly: Dust, leaves, and tiny debris are sneaky villains. A quick sweep every week keeps them from jamming your tracks and causing headaches later.
- Mop Occasionally: A damp mop does wonders for cleaning tiles and tracks. Skip the harsh chemicals—mild soap and water work just fine.
- Hose Down Outdoor Areas: If your slide-out moonlights as an outdoor patio, give it a good rinse every so often. Dirt and grime don’t stand a chance against a steady stream of water.
- Lubricate Seals: Did you know you need to lubricate a slide-out’s non-moving parts? According to RV.com, 80% of rain leaks in slide-outs are caused by a broken seal. So, every 6 months, use a seal conditioner or high-quality rubber lubricant, coating the inner and outer seals. Avoid silicone spray that can damage the seals.
- Clean Underneath: This one’s easy to forget, but it’s a game-changer. If your tiles are removable, lift them up now and then to tackle whatever lurks below. You’ll be surprised what collects there.
Simple, right? With these effortless routines, your slide-out will stay in peak shape—ready for every season, every adventure, every mile ahead.
Conclusion
A well-maintained slide-out isn’t just about avoiding repairs—it’s about enjoying every mile of your journey. With regular inspections and a bit of TLC, your RV slide-out will keep delivering the space and comfort you love.
So, take the time to follow these expert tips, and don’t hesitate to call in the pros when you need RV slide-out repair. A little care goes a long way toward ensuring stress-free travel and a slide-out that lasts for years.
