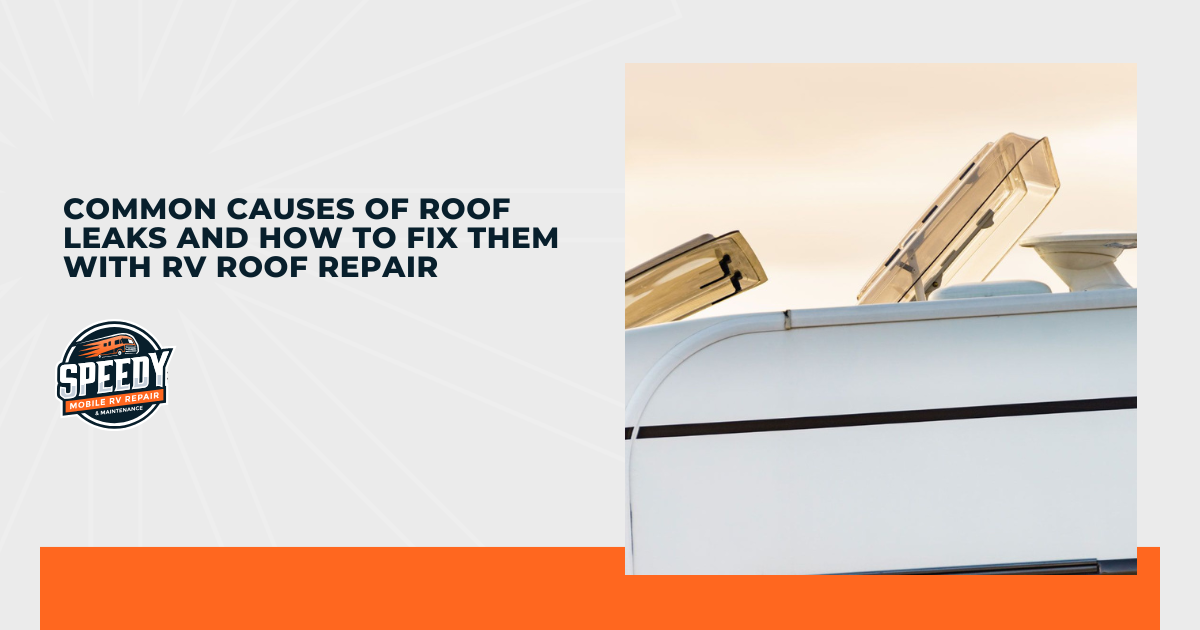
I love RV life. The open road, the freedom to explore, the cozy nights under the stars—until that dreaded drip, drip, drip started from the ceiling. As someone who's logged countless miles in my RV, I can tell you that roof leaks are a common foe for us adventurers. But I’ve learned not to let a little water dampen my spirits!
Over the years, I’ve discovered some common causes of RV roof problems, as well as tips and tricks to conquer them with proactive roof repair techniques: In this blog, we will discuss:
- Age and Wear of Roofing Materials: Time Takes Its Toll
- Worn-Out Seals and Caulking: Slipping Through the Cracks
- Tree Branches and Debris: Watch Out Above
- UV Damage and Sun Exposure: Sunburnt Roofs
- Improper Installation or Poor Maintenance: Sub-Par Roof Care
- Preventative Measures for RV Roof Leaks: The Golden Rules
Keep reading to discover the most common culprits behind those pesky RV roof leaks and how timely RV roof repair can keep your rig watertight and ready for adventure.
Age and Wear of Roofing Materials: Time Takes Its Toll
After years on the road, even the toughest RV roofs start to show their age. I’ve learned that roofs made from rubber, fiberglass, or aluminum all have their own quirks. The constant barrage of sun, rain, and wind can make these materials crack, shrink, warp, or just plain wear out. It’s like your favorite pair of hiking boots—after a while, they’re going to need some TLC.
- UV Damage: The sun’s rays are relentless, and they can make your roofing materials brittle and prone to cracking.
- Visible Signs: Look for discoloration, soft spots, cracks, and other obvious signs of damage. If you notice these, it’s time to get your roof fixed.
- Weather Woes: Rain, snow, hail—whatever nature throws at you, it all adds up over time, weakening your roof and making leaks more likely.
When your roof starts showing its age, you need to get it checked out. Trust me, a little preventive care can go a long way toward keeping the rain outside, where it belongs. So, reach out to your trusted mobile RV repair experts who have the expertise and equipment to get the job done—fast and right, the first time.
Worn-Out Seals and Caulking: Slipping Through the Cracks
If I had a nickel for every leak caused by a bad seal, well, let’s just say I’d have a lot of nickels. The caulking around vents, skylights, and edges is your roof’s first line of defense against leaks, but over time, even the best seals can give out. I’ve seen this happen time and again—the Florida sun dries out those seals, and before you know it, water’s finding its way in.
- UV Exposure: The sun can cause caulking to crack and peel, leaving gaps for water to sneak in.
- Temperature Fluctuations: Hot days and cool nights can make seals expand and contract, leading to wear.
- Visible Signs: Cracked, peeling, or missing caulking around roof fixtures is a telltale sign that it’s time for some re-sealing.
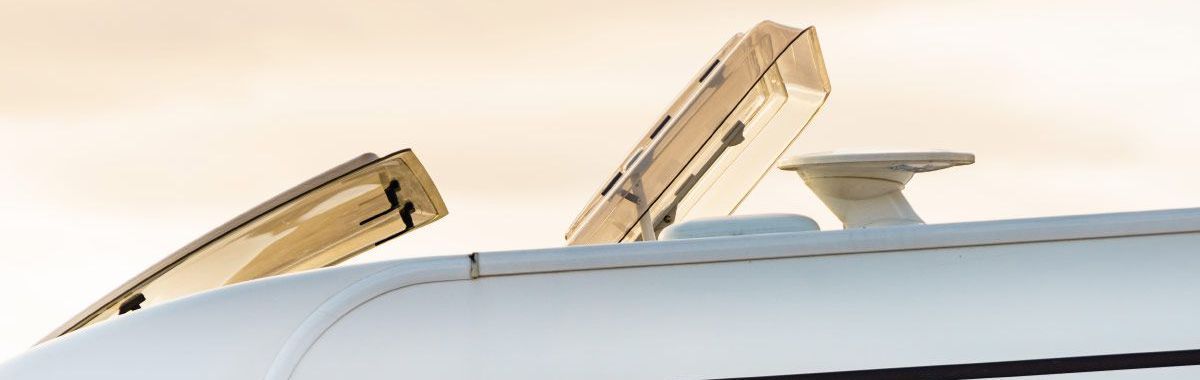
Tree Branches and Debris: Watch Out Above
Ever park under a shady tree for a little break? It feels great, but it can spell trouble for your RV’s roof. I’ve seen too many roofs take a hit from falling branches, acorns, and other debris. Even a small puncture or scrape can lead to a significant leak if you’re not careful.
- Look for Unexpected Dangers: Tree branches, hail, and even falling debris can cause dents, scratches, or punctures in your RV's roof, leading to potential leaks. I once had a branch fall on my RV during a storm, leaving a nasty gash that required immediate repair.
- Consider Location: When choosing a campsite, be mindful of potential hazards, like overhanging branches or areas prone to hailstorms. If possible, park in a clear area or under a protective canopy.
- Do a Post-Storm Check-Up: After a storm or a drive through a wooded area, take a few minutes to inspect your RV's roof for any signs of damage. Even a small scratch can become a major leak if left unattended.
UV Damage and Sun Exposure: Sunburnt Roofs
I know I’ve already mentioned the sun’s impact, but it’s worth going deeper. UV rays don’t just wear down your roof’s materials—they can turn them brittle and frail. This is especially true if you spend a lot of time in sunny spots, like Florida. Over time, I’ve discovered that even the toughest materials can be worn down by relentless sun.
- UV Rays: They can break down materials, leaving them more susceptible to cracks and leaks.
- Seal Weakening: The sun doesn’t just target the roof—it also affects the seals and caulking, making them brittle and less effective.
- Preventive Measures: Consider applying UV protectant and parking in shaded areas when you can.
From my experience, a little sun protection can go a long way. It’s worth investing in a good UV treatment to keep your roof’s materials from deteriorating prematurely.
Improper Installation or Poor Maintenance: Sub-Par Roof Care
I’m all for a good DIY project, but when it comes to RV roofs, some things are best left to the pros. I’ve seen too many leaks caused by a well-intentioned but poorly executed roof repair or installation. Whether it’s a quick patch job or a full roof replacement, getting it right the first time couldn’t be more important.
- The DIY Dilemma: While DIY repairs can be tempting, improper installation or inadequate maintenance can lead to leaks and other issues down the road. I've learned that it's often best to leave roof repairs to the professionals, especially if you're not confident in your skills.
- Professional Expertise: A qualified RV technician has the knowledge and experience to ensure that your roof is installed correctly and maintained to the highest standards. They can also identify potential problems early on, preventing them from becoming major headaches.
- Regular Checkups: Schedule regular maintenance checks with your trusted mobile RV repair expert to keep your rig’s roof in top condition. They can inspect seals, caulking, and other vulnerable areas, ensuring that your roof remains watertight and ready for adventure.
Preventative Measures for RV Roof Leaks: The Golden Rules
Prevention is worth a pound of cure, especially with RV roofs. Over the years, I’ve learned some tricks that have helped me dodge the worst leaks and keep my home on wheels in good shape.
- Inspect Regularly: Check for signs of wear and tear, especially around seals, caulking, and roof openings.
- Give It a Wash: A simple wash is often enough to remove sap, bird droppings, and other contaminants that can compromise your RV’s roof. Outdoorsy recommends washing your roof several times each year, especially if you have a rubber one.
- Use a Roof Protectant: This simple and inexpensive step guards against UV damage and keeps materials flexible and strong.
- Cover Up: When parked for a while, throw a cover over your RV to shield it from the sun and debris.
- Invest in Professional Maintenance: At least once a year, have a professional check your roof. It’s worth the peace of mind.
- Stay Vigilant: After storms or rough weather, give your roof a once-over. Catching damage early can save you from a major repair later.
Conclusion
RV roof leaks can be a real headache, but with a little knowledge and preventative care, you can keep your rig watertight and ready for adventure. Remember, regular inspections, proper maintenance, and timely RV roof repair are the keys to a long and happy RV life. So stay vigilant, and enjoy those glorious miles on the open road!
