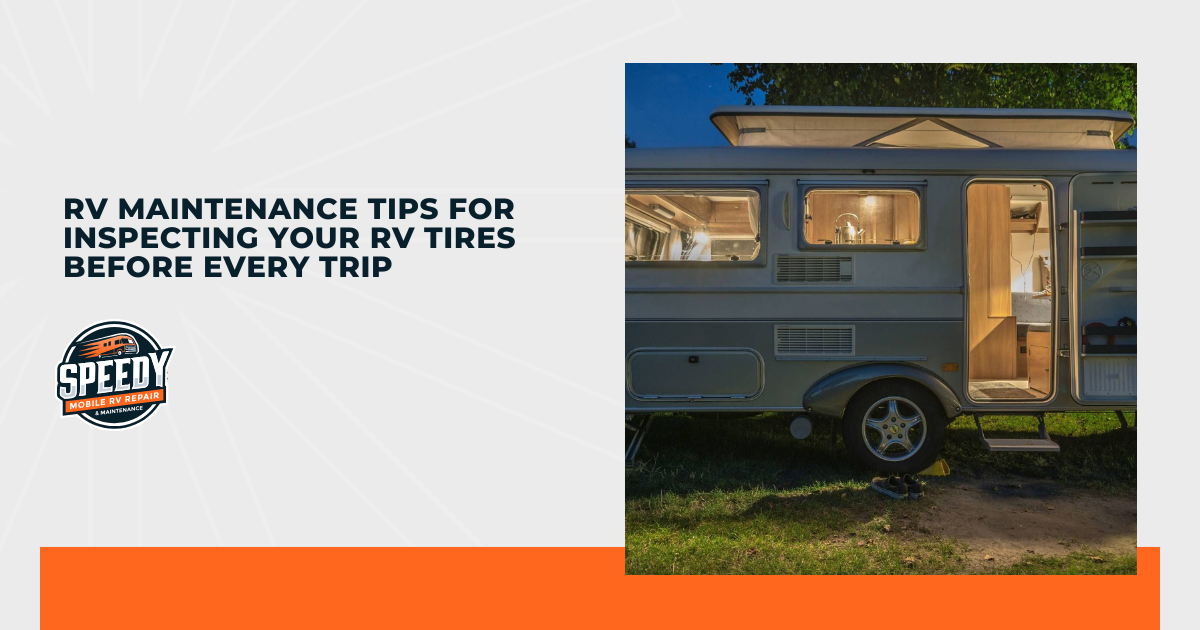
The thrill of the open road is unbeatable when you travel in an RV—but let’s face it, nothing ruins an adventure faster than a tire issue. After years of hitting the highways, I’ve learned keeping your RV’s tires in great shape is non-negotiable. Proper tire care should always be part of your pre-trip RV maintenance plan. It doesn’t just save you from roadside disasters—it boosts fuel efficiency and keeps your rig running smoothly, so every trip starts and ends on a high note.
And that’s exactly why I never leave the driveway without giving my tires a thorough once-over.
Checking for wear, pressure, and damage is a ritual that’s saved me more headaches than I can count. So, here are my tried-and-true RV maintenance tips for inspecting your tires, so you can roll out with confidence every time:
- Check tire pressure for optimal performance and safety
- Inspect tire tread depth for safe traction
- Examine sidewalls for cracks, bulges, and punctures
- Verify tire age for condition and safety
- Check wheel alignment for smooth operation
- Tighten lug nuts for secure wheels
- Look for signs of dry rot or weather damage
- Do these additional tips for long-term tire care and maintenance
Trust me—when it comes to your RV, tires are the unsung heroes of every journey. Keep reading to discover what you need to check to make sure they’re ready to carry you safely to your next destination.
Check Tire Pressure for Optimal Performance and Safety
Here’s the thing about tire pressure: it’s not a set-it-and-forget-it situation. From my experience, even a slight dip in PSI can mess with your fuel efficiency and handling. On the flip side, over-inflated tires wear out unevenly and are prone to blowouts. It’s well worth checking your tires as part of your pre-trip RV maintenance—it’s safer and it even helps you save on fuel.
- Start Cool: Always check tire pressure when the tires are cool—hot tires give you inaccurate readings.
- Use a Reliable Gauge: A cheap, flimsy gauge isn’t worth the gamble. Get one that’s reliable and shows the PSI clearly.
- Match the Specs: Check the manufacturer’s recommended PSI, usually on the sidewall or in your RV manual. Adjust accordingly, and don’t forget the spare tire!
Inspect Tire Tread Depth for Safe Traction
Tread depth might not be the most interesting topic, but it’s the foundation of safe driving—quite literally. With enough tire tread, your RV grips the road, whether you’re cruising a dry highway or steering through rain-slicked mountain curves. I always say, if your tires can’t grip, they can’t guide.
Measuring tread depth is easier than it sounds. I prefer using a tread depth gauge for accuracy, but in a pinch, the classic penny test works too. Just insert a coin into the tread grooves with Lincoln’s head facing down. If you can see the top of his head, it’s time to have that tire replaced. Pay attention to wear patterns while you’re at it. Uneven tread—worn down more in the center or edges—could mean your tire pressure or alignment needs adjusting.

Examine Sidewalls for Cracks, Bulges, and Punctures
Sidewalls may not grab your attention as much as the tread, but trust me, they hold your safety in their rubbery grasp. From dry rot to embedded nails, ignoring sidewall issues can lead to catastrophic blowouts on the road. That’s why I always make it a point to inspect mine with the same care I’d give to checking oil levels.
- Dry Rot Cracks: Look for tiny, web-like lines running along the sidewall. These cracks are a sign the rubber is breaking down and losing its strength.
- Bulges: Any lumps or protrusions mean there’s internal damage, likely from impact or weakened structural layers. These tires are ticking time bombs.
- Embedded Objects: Glass, nails, or debris might not seem like a big deal, but they can create slow leaks or lead to sudden blowouts under pressure.
- Discoloration or Uneven Texture: Any strange spots or rough patches could indicate compromised material, especially if exposed to extreme heat or chemicals.
If you spot any of these issues, do
yourself a favor and address them before they turn your road trip into a roadside wait for a tow.
Verify Tire Age and Condition for Safety
Here’s a tip I learned the hard way: tires age out even if they look flawless. Rubber doesn’t last forever, and aging tires can fail catastrophically without warning.
The DOT code on the tire sidewall tells you everything you need to know. The last four digits represent the week and year of manufacture. For example, “2220” means the tire was made in the 22nd week of 2020. According to Camping World, if your tires are more than 8 years old—or if you’ve driven 10,000-15,000 miles on them—it’s time to swap them out, no exceptions. Trust me—ignoring this step can turn a dream trip into a nightmare.
Check Wheel Alignment for Smooth Operation
If your RV starts pulling to one side or your steering feels off, don’t ignore it. Misaligned wheels aren’t just annoying—they’re dangerous. Improper alignment causes uneven tire wear, shortens tire life, and makes handling your RV a chore. From my experience, it’s a silent problem that creeps up on you until it’s too late.
While it’s tempting to brush off minor signs, I always make it a point to get the alignment checked if I notice uneven tread wear or strange pulling while driving. It’s also a must whenever you install new tires. A quick alignment check can save you money on premature replacements and give you a smoother ride—what’s not to love?
Tighten Lug Nuts for Secure Wheels
This might sound basic, but trust me, it’s often overlooked. Loose lug nuts can turn into a disaster on the highway, and I’ve seen it happen. You do not want a wheel coming off mid-drive.
Before every trip, I use a torque wrench to make sure each lug nut is tightened to the manufacturer’s specifications. It’s a simple task that takes minutes but adds a huge layer of safety. Whether you’ve just driven a long stretch of bumpy roads or recently had your tires rotated, don’t skip this step.
Look for Signs of Dry Rot and Weather Damage
Sunlight and weather take a toll on tires, even if you’re parked most of the year. I’ve learned that UV rays don’t just tan skin—they crack and weaken rubber too. Before each trip, I give my tires a once-over for these telltale signs of weather damage.
- Small Cracks: Look for web-like lines on the tire’s surface, especially if the RV has been sitting in direct sunlight for months. These cracks mean the rubber is drying out.
- Faded or Chalky Appearance: UV damage often leaves tires looking dull or discolored, but this is more than a cosmetic problem. It’s a warning sign of brittle, compromised rubber.
- Rough Spots: Weather-exposed tires might develop uneven or hardened areas, which can affect grip and handling.
- Exposed Wire or Fabric Layers: If you see any internal material showing, the tire’s structural integrity is compromised, and replacement is non-negotiable.
Do These Additional Tips for Long-Term Tire Care and Maintenance
Tires don’t just take care of themselves. A little regular TLC goes a long way toward keeping them in peak condition. Here are some of my go-to strategies for extending tire life and performance:
- Rotate Tires Regularly: To prevent uneven wear, I rotate my tires every 5,000–7,000 miles. It’s a quick job that balances out the workload and keeps the ride smooth.
- Use Protective Covers: I never park for long periods without covering my tires. These covers block UV rays, keeping the rubber supple and less prone to cracking.
- Balance Tires: Properly balanced tires reduce vibrations and ensure even wear. I get mine checked during routine maintenance to avoid unnecessary strain on the suspension.
- Store Properly During Off-Season: When the RV is out of action, I inflate the tires to the recommended PSI and use wood or plastic blocks to lift them off the ground, avoiding flat spots.
- Inspect After Long Trips: Post-trip checks are a habit of mine. Long drives can loosen lug nuts or wear down tread faster than short commutes, so I always give them a second look.
Conclusion
A safe RV adventure starts with proper tire care. Please take these RV maintenance steps seriously—you’re safeguarding every mile of your journey. The habits above will give you peace of mind, guaranteeing your tires are ready for anything the road throws your way.
So, make tire inspections a part of your pre-trip routine. Trust me, a little effort upfront will save you from costly repairs and stressful delays down the line. Ready to hit the road? Start by giving your tires the attention they deserve—you’ll thank yourself later.
